前提条件:
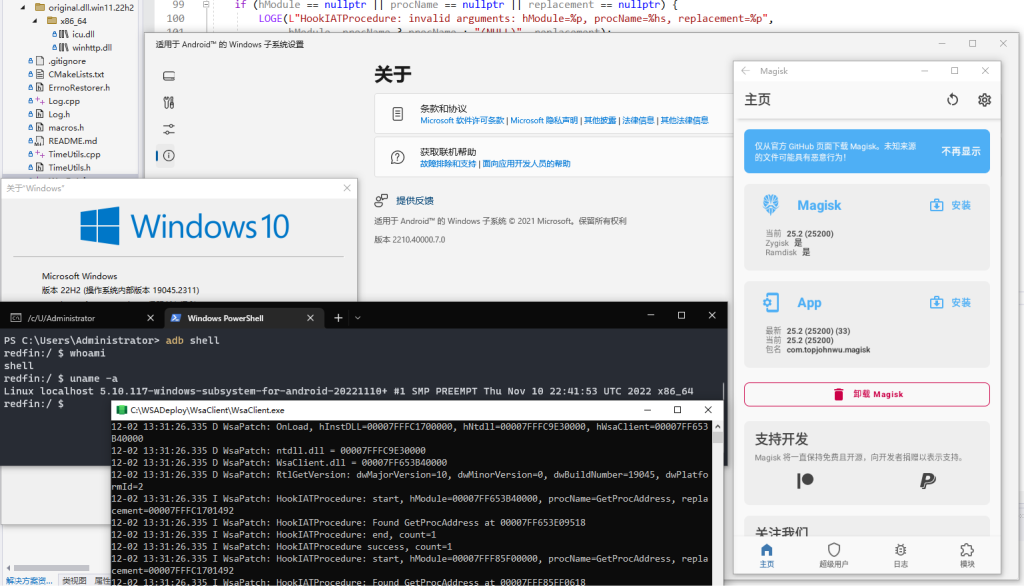
Windows 10 2311 或更高版本(使用winver查看)

步骤:
- 打开WSAPatch下载文件(打不开可以使用RETE下载站下载patch开头文件)
- 打开WSA文件并解压(同样打开RETE下载站下载WSA开头文件,wsa安卓版本问题看文章最后)
- 按以下要求修改 AppxManifest.xml:
- 在
AppxManifest.xml找到TargetDeviceFamily节点:<TargetDeviceFamily Name="Windows.Desktop" MinVersion="10.0.22000.120" MaxVersionTested="10.0.22000.120"/>
把MinVersion从10.0.22000.120改成你在winver中看见的版本号. - 在
AppxManifest.xml删除 "customInstall" 相关节点,一共有两个. 找到以下内容,然后删掉.<rescap:Capability Name="customInstallActions"/>
和
<desktop6:Extension Category="windows.customInstall">
    <desktop6:CustomInstall Folder="CustomInstall" desktop8:RunAsUser="true">
        <desktop6:RepairActions>
            <desktop6:RepairAction File="WsaSetup.exe" Name="Repair" Arguments="repair"/>
        </desktop6:RepairActions>
        <desktop6:UninstallActions>
            <desktop6:UninstallAction File="WsaSetup.exe" Name="Uninstall" Arguments="uninstall"/>
        </desktop6:UninstallActions>
    </desktop6:CustomInstall>
</desktop6:Extension>
- 在
- 运行
Run.bat(需要管理员权限).
截图

注意事项
- WSA 只能安装在 NTFS 分区 (请勿安装在 exFAT 分区).
- 在
Add-AppxPackage -Register .\AppxManifest.xml完成 WSA 的安装后, 你原先解压 WSA 的文件夹不可以删除. 因为Add-AppxPackage -Register .\AppxManifest.xml的作用是注册 appx 应用包,它只登记注册,不会复制文件. 参考 https://learn.microsoft.com/en-us/powershell/module/appx/add-appxpackage?view=windowsserver2022-ps - 在解压 WSA 后第一次启动之前, 你需要注册 WSA appx 包 (上文第 9 步). 对于 MagiskOnWSALocal(本文提供的WSA) 用户, 你只需要运行解压目录下的
Run.bat即可. 如果报错失败, 你可以进行以下操作进行错误诊断(需要管理员权限).- 以管理员身份打开 PowerShell, 切换工作目录到 WSA 的解压目录.
- 在 PowerShell 中运行
Add-AppxPackage -ForceApplicationShutdown -ForceUpdateFromAnyVersion -Register .\AppxManifest.xml. 该命令应该会失败并提供一个这次错误的 ActivityID (是个 UUID). - 在 PowerShell 中运行
Get-AppPackageLog -ActivityID <UUID>获取刚才的错误的日志. - 根据日志的内容进行修复.
WSA对应安卓版本:
- 2209对应的是安卓10
- 23开头的对应的是安卓11


Comments NOTHING